Mastering the Art of Hatching Poultry Eggs
- fancyfeatheredflock
- Jun 1
- 3 min read
Hatching poultry eggs is a rewarding process. It requires patience, attention, and the right conditions. I have learned that success depends on understanding the basics and following clear steps. This guide will walk you through the essentials of hatching eggs, from preparation to caring for chicks.
Preparing for Hatching Poultry Eggs
Preparation is key. Start by selecting healthy eggs. Choose eggs that are clean, free of cracks, and ideally less than 10 days old. Older eggs have lower hatch rates. Store eggs in a cool, humid place before incubation. Keep them at about 55°F (13°C) and turn them daily to keep the yolk centered.
Next, set up your incubator. Clean it thoroughly before use. Make sure it maintains a steady temperature of 99.5°F (37.5°C). Humidity should be around 50-55% for the first 18 days. Use a reliable thermometer and hygrometer to monitor conditions. Consistency is crucial.
Turn the eggs at least three times a day. This prevents the embryo from sticking to the shell. Stop turning on day 18 to allow the chick to position for hatching. Keep the incubator closed during this time to maintain humidity.

Managing Temperature and Humidity for Hatching Poultry Eggs
Temperature control is the most critical factor. Even a small change can affect hatch rates. Keep the incubator at 99.5°F (37.5°C). Use a digital thermometer for accuracy. Avoid opening the incubator frequently, as this causes temperature fluctuations.
Humidity affects the chick’s ability to hatch. Low humidity causes the membrane inside the egg to dry out, making it hard for the chick to break free. High humidity can cause the chick to drown in fluid. Maintain 50-55% humidity for the first 18 days. Increase it to 65-70% during the last three days, known as the lockdown period.
Use a water tray or sponge inside the incubator to control humidity. Check water levels daily and refill as needed. If your incubator has a built-in humidifier, adjust it carefully.
Candling Eggs to Monitor Development
Candling is a simple way to check embryo growth. Use a bright flashlight or a specialized egg candler in a dark room. Hold the egg gently and shine the light through the shell.
At 7-10 days, you should see veins and a dark spot, which is the embryo. Clear eggs likely did not fertilize or the embryo died early. Remove these eggs to prevent contamination.
Candling again at day 14 shows more development. You can see movement and a larger dark mass. Avoid candling after day 18 to prevent disturbing the chick before hatching.
Handling and Caring for Chicks After Hatching
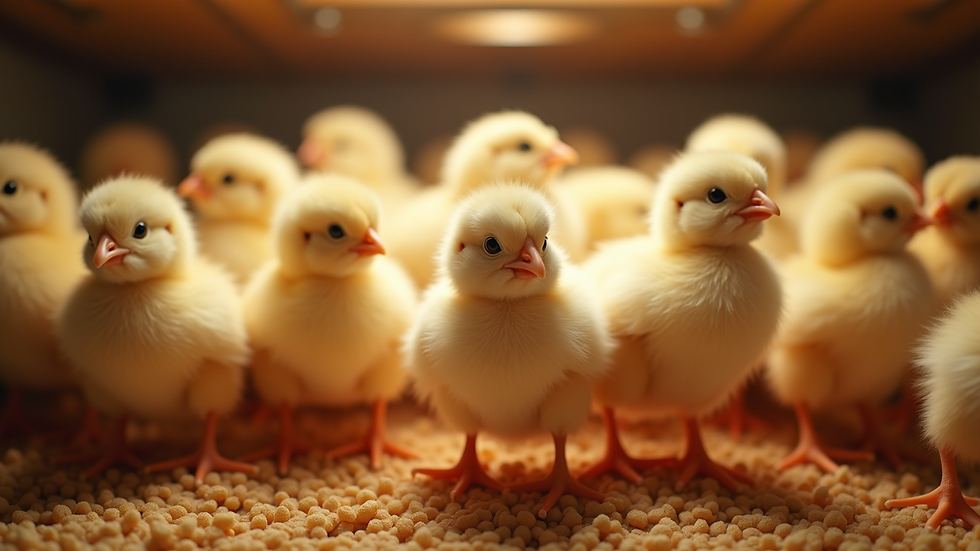
Once chicks hatch, leave them in the incubator until they dry and fluff up. This usually takes 12-24 hours. Then, move them to a brooder with a heat source set at 95°F (35°C). Lower the temperature by 5°F each week until they are fully feathered.
Provide clean water and chick starter feed. Use shallow dishes to prevent drowning. Keep the brooder clean and dry. Add bedding like pine shavings, but avoid slippery surfaces.
Monitor chicks for signs of health issues. Healthy chicks are active and alert. Separate any weak or sick birds to prevent spreading illness.
Tips for Improving Hatch Rates and Success
Improving hatch rates takes practice. Here are some tips I follow:
Use fresh, fertile eggs from healthy hens and roosters.
Maintain stable temperature and humidity throughout incubation.
Turn eggs regularly until lockdown.
Keep the incubator clean to prevent bacteria.
Avoid opening the incubator unnecessarily.
Use candling to remove non-viable eggs early.
Prepare a clean, warm brooder before hatching starts.
Provide proper nutrition and care for chicks after hatching.
By following these steps, you can increase your chances of a successful hatch. Remember, patience and attention to detail are your best tools.
Growing Your Flock with Confidence
Hatching your own birds is satisfying. It lets you expand your flock with birds you know are healthy. Using quality poultry hatching eggs ensures good genetics and hatchability.
Keep learning and adjusting your methods. Each hatch teaches you something new. With time, you will master the art of hatching poultry eggs and enjoy a thriving flock.
Mastering this process supports your goal of raising strong, beautiful birds. It also helps build a community of poultry lovers who share knowledge and passion. Happy hatching!


Comments